1
Creating Your First Odevio Configuration Build
If you've successfully installed Odevio and created an account, you're ready to embark on creating your first configuration build.
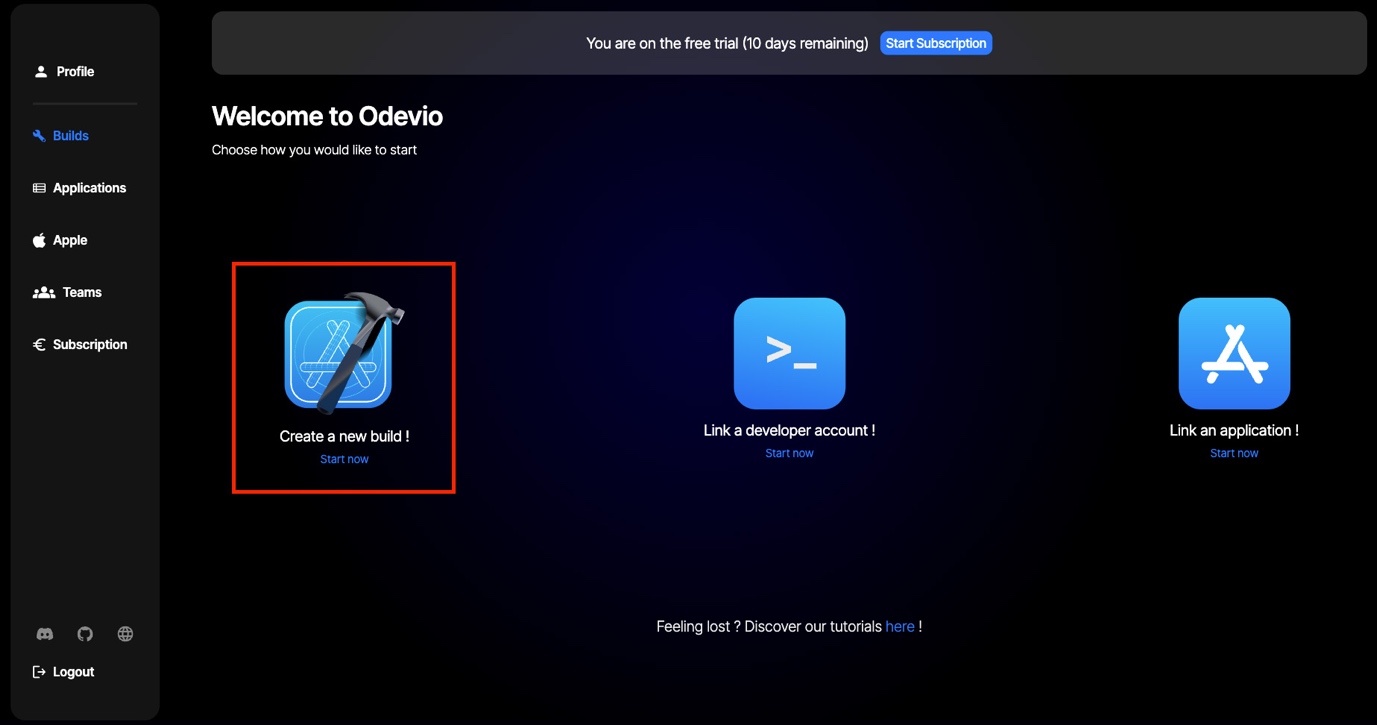
Starting is simple: navigate to the 'Builds' page or select 'Create a new build!' from the main menu.
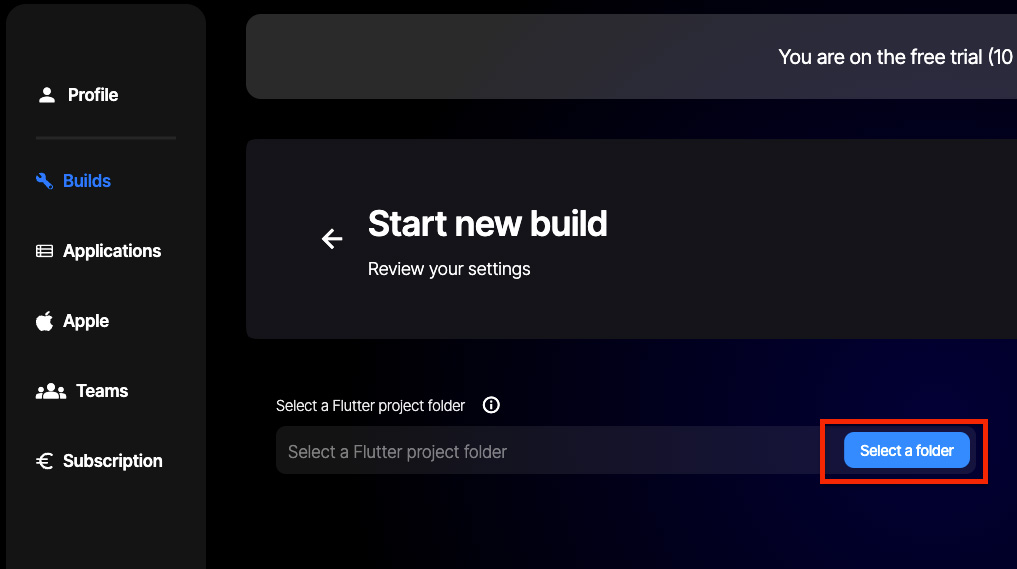
It's essential to select the root folder of your Flutter project to continue.
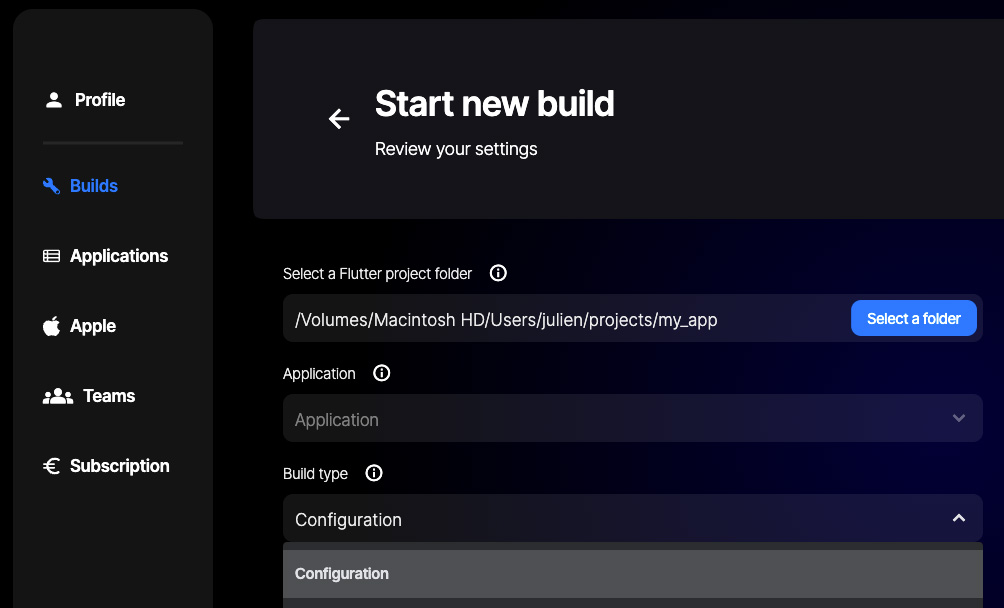
For those with an Apple Developer Account linked to Odevio, a list of the app Ids you added to Odevio will be available. Choose the configuration type build and ensure the detected Flutter version is compatible with your project to prevent any build issues.
Once ready, click 'Start build', and Odevio will handle the rest, providing you with all necessary credentials for your Mac virtual machine upon completion.
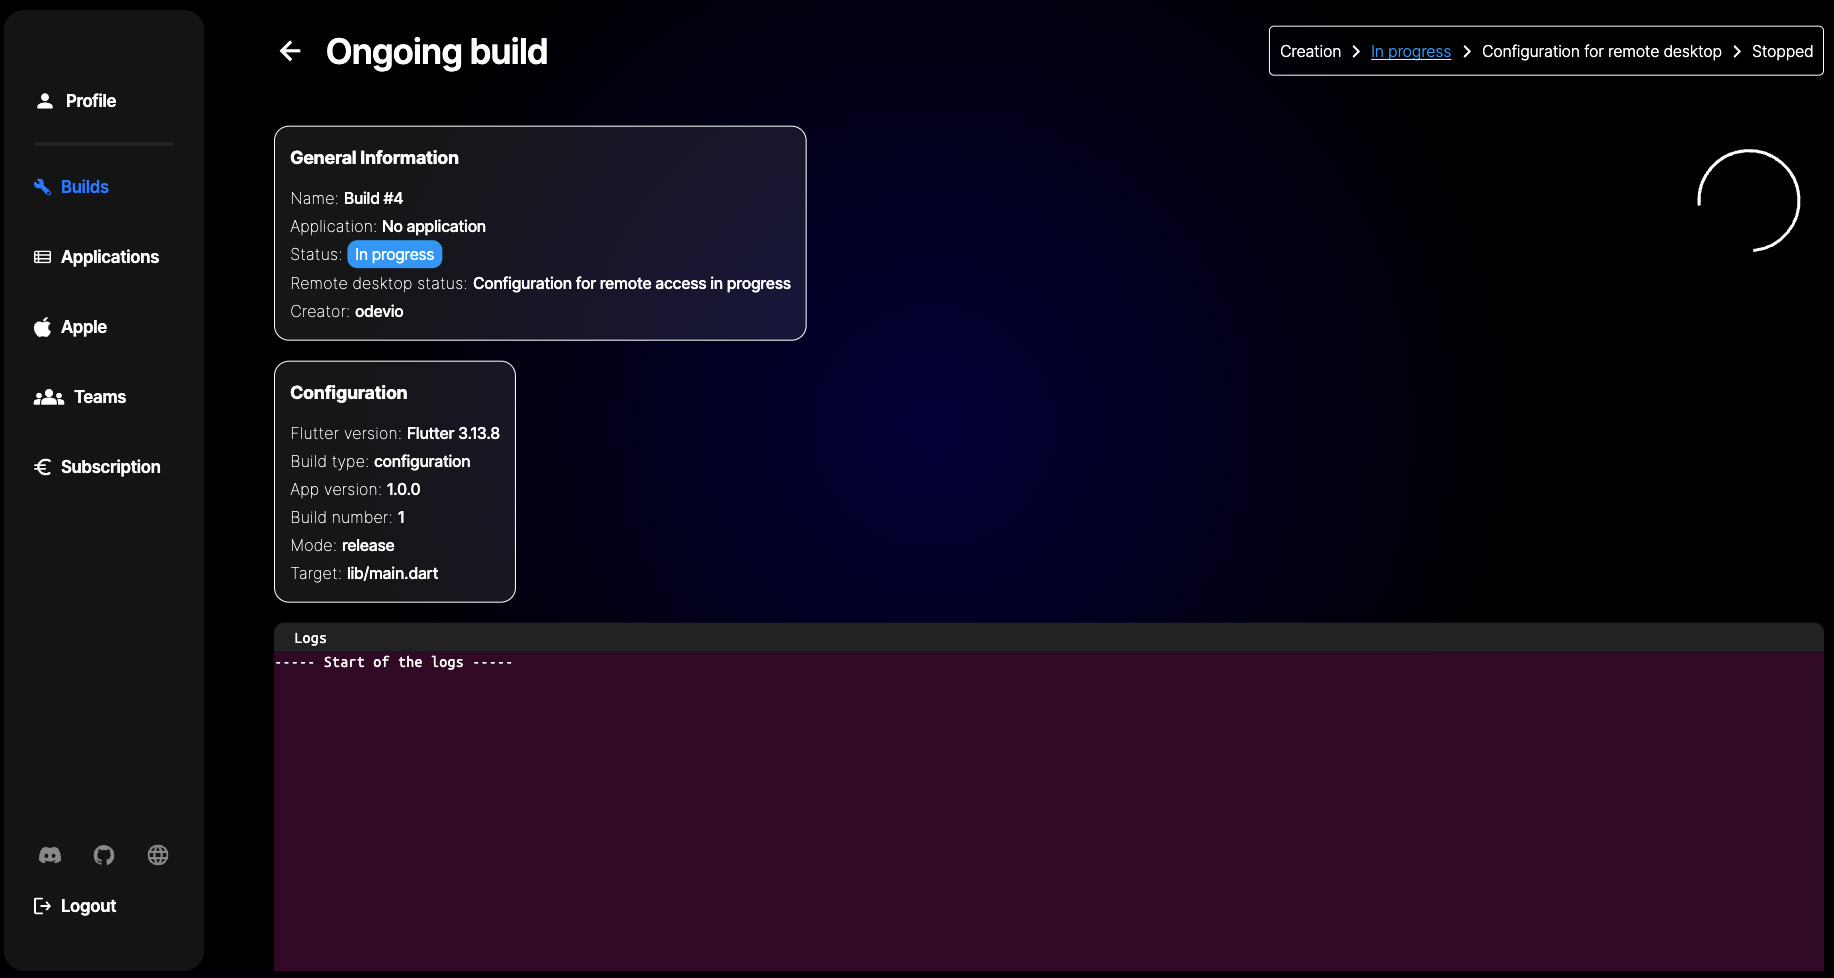
You can find a description of the advanced settings in Odevio’s reference guide for now.
2
Conclusion:
Odevio simplifies iOS app development for those without a Mac whether you are on Windows or Linux, from setting up initial builds to conducting thorough configuring Xcode, tests and downloading changes made. Each step is designed to be seamless, ensuring you spend less time managing your development environment and more time improving your app.
Ready to enhance your iOS development process? Start with Odevio today for free now!
3
Connecting to Your Configuration Build

With your build ready, connecting to it involves RustDesk, the remote desktop access application used by Odevio. Rustdesk is packaged with Odevio therefore you shouldn’t need to install it.
However, if you are having trouble connecting to the virtual machine, follow these instructions; launch Rustdesk and enter Odevio’s relay server address: odevio.com in the network settings.
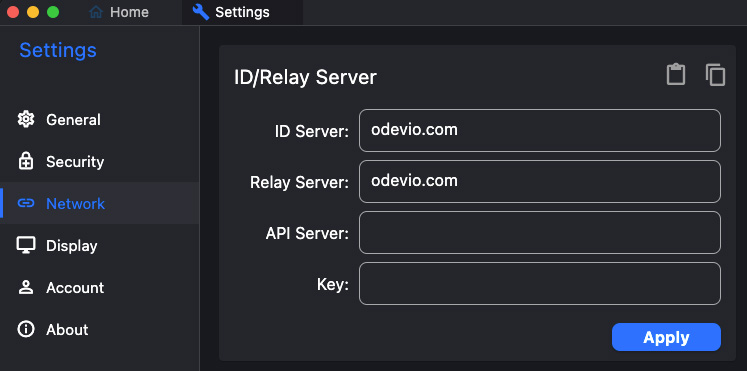
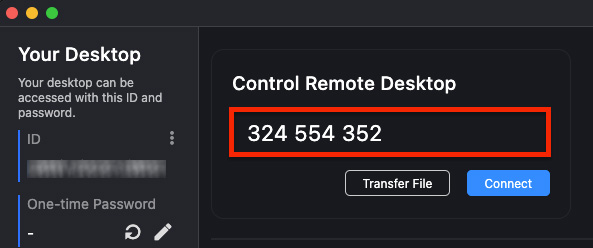
Next, authenticate using the RustDesk ID and password provided by Odevio, and you'll gain access to your Mac virtual machine.
4
Configuring Xcode, Editing Code, and Testing Your App
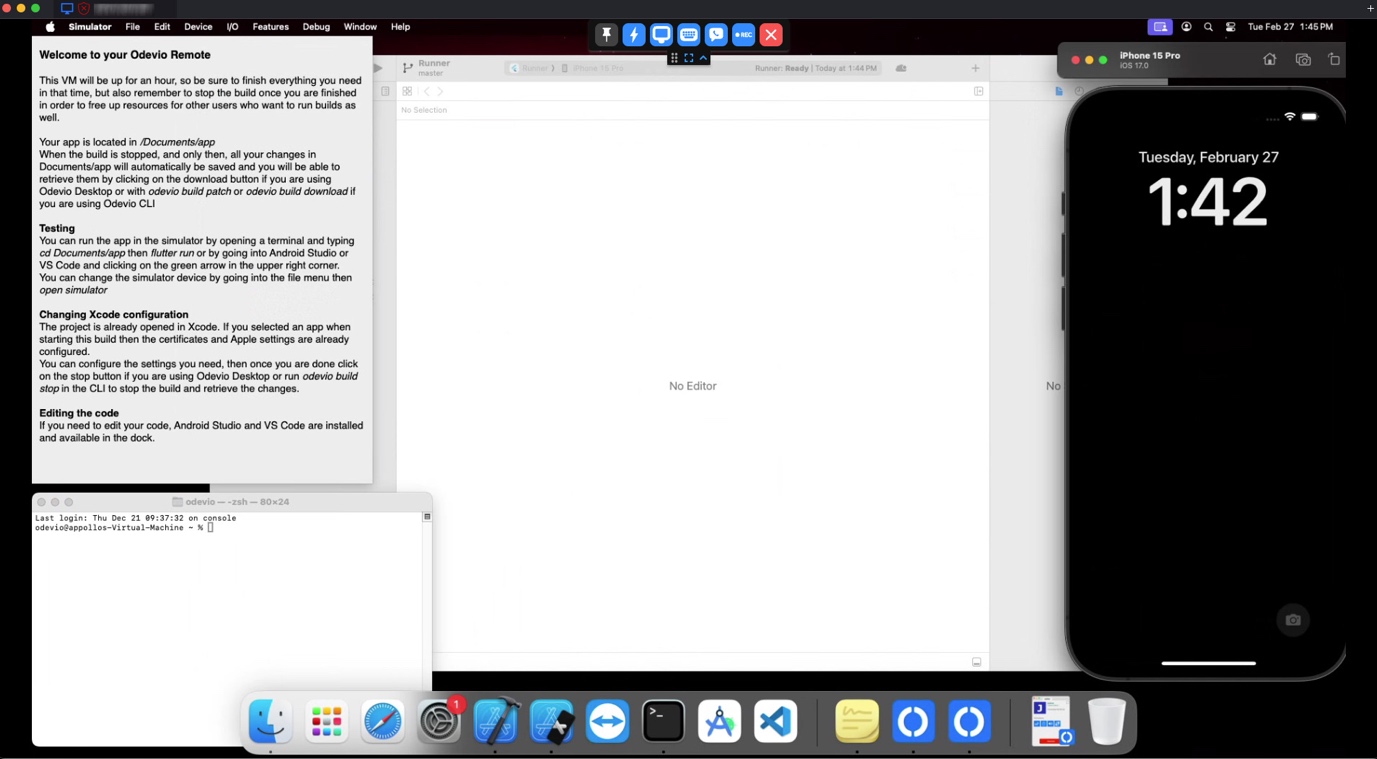
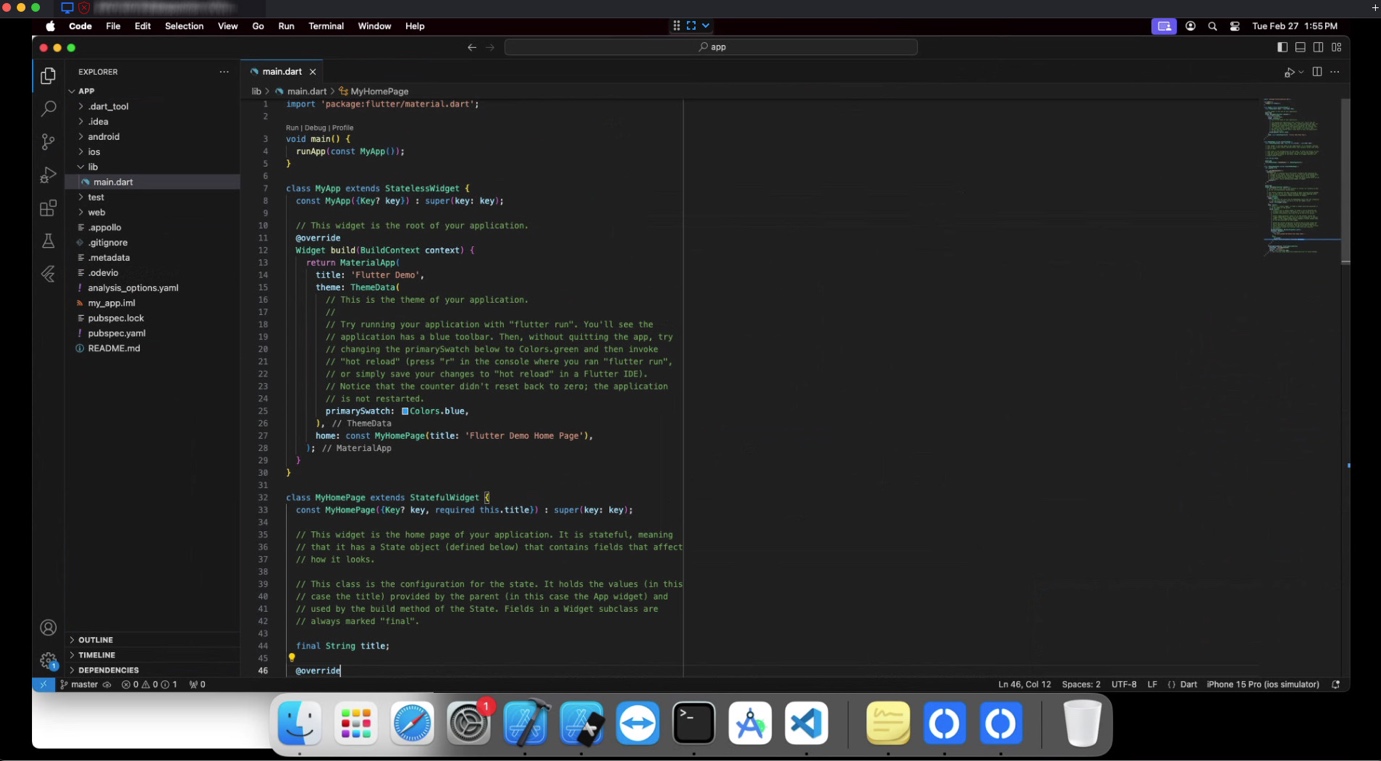
Once connected to your virtual machine, you're set to configure Xcode, edit your code, and test your application. Everything is pre-installed for you! Odevio allows you to use familiar IDEs like Visual Studio Code or Android Studio directly on the virtual machine. It’s great for small incremental changes.
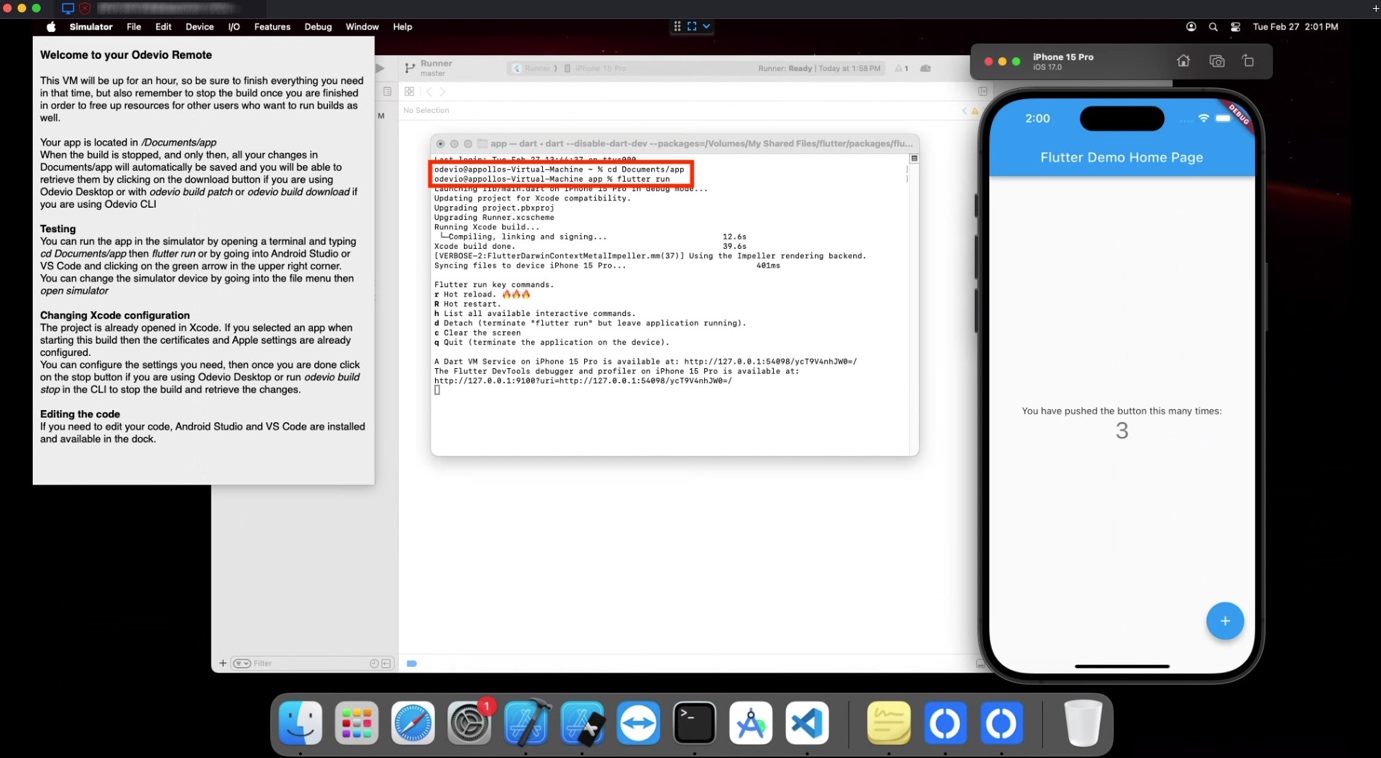
For testing, open a terminal within Odevio-Remote, navigate to your app’s directory with cd Documents/App, and execute the command flutter run. This launches your application on the iOS simulator, ready for debugging and testing.
5
Retrieving Your Updates Locally

After making all the necessary adjustments and testing your app, you will want to retrieve these changes back to your local environment.
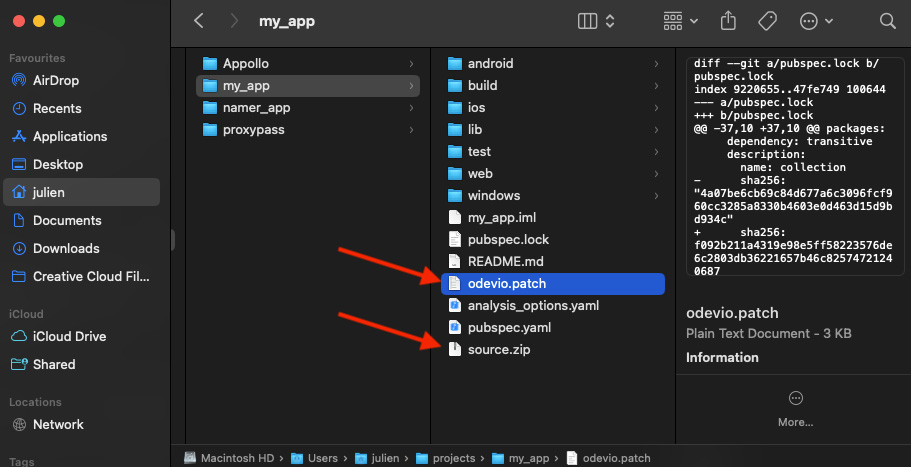
Ensure your build is stopped by pressing 'Stop build' in Odevio and closing Rustdesk. You can then download the updated code or a patch file, which can be applied locally to update your project with the changes made remotely.
